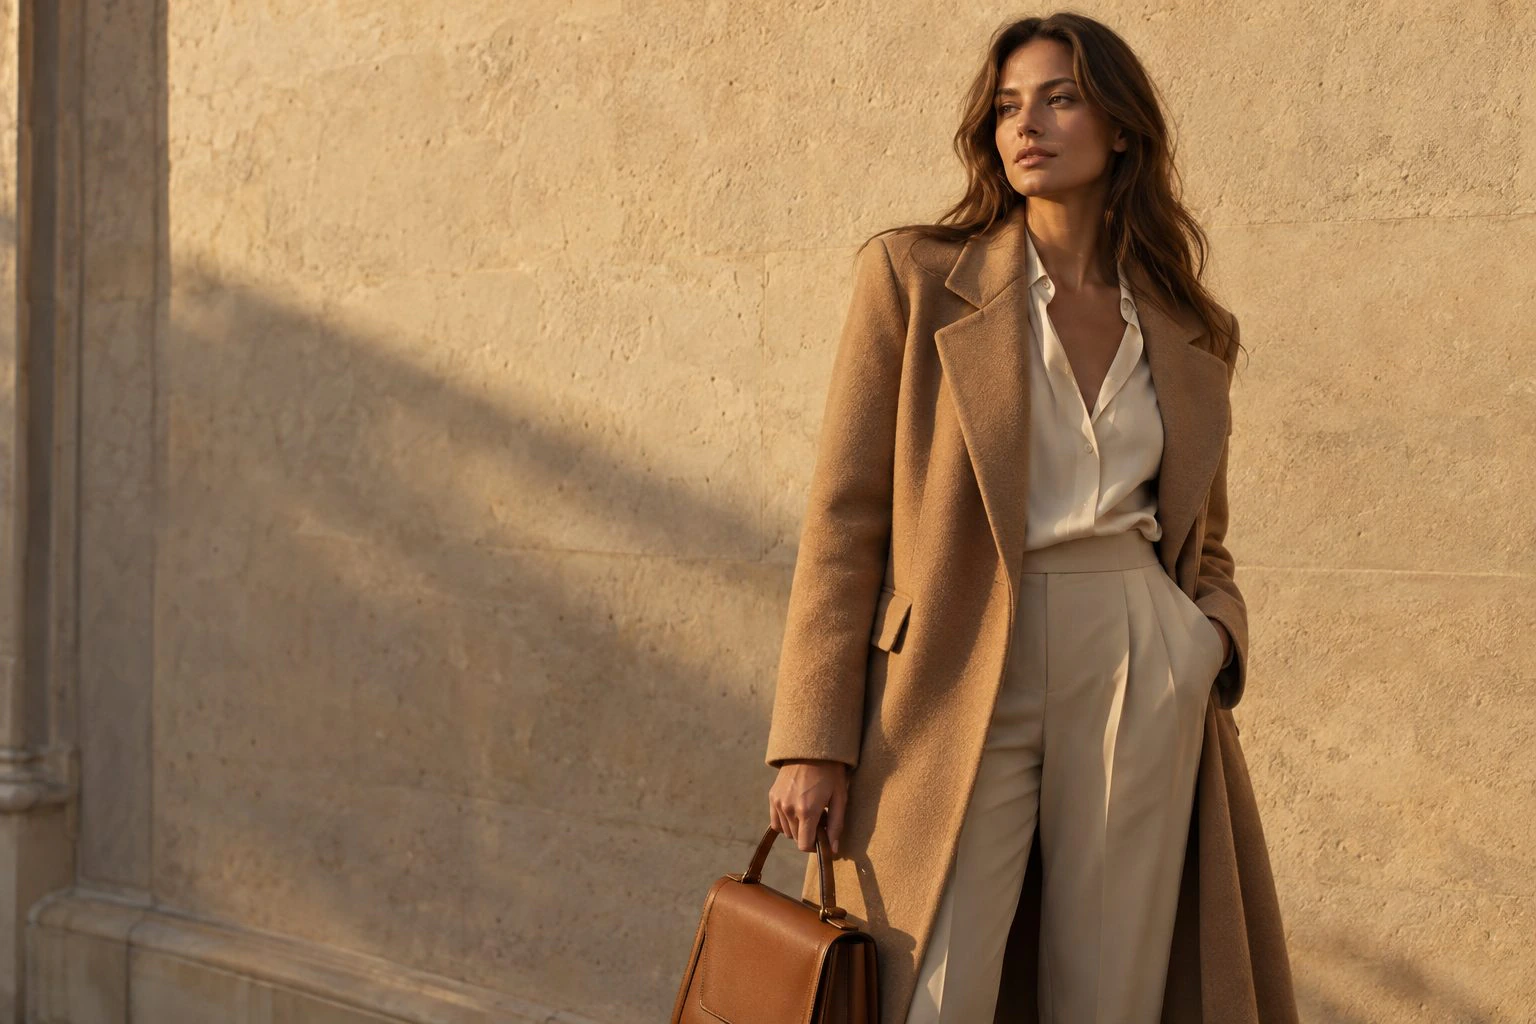
"AI product photography" describes two completely different things, and most of the confusion about whether it works comes from not separating them.
Generating a product. You describe an object and a model draws it. The output is a beautiful photograph of something that does not exist. Useful for concept work, moodboards and pitching an idea. Useless for a product page.
Re-photographing a product. You supply the real product image and the model builds everything around it: the set, the light, the surface, the shadow, the composition. The product stays yours.
Only the second is a catalogue tool. Everything below is about that.
What it replaces, and what it does not
It replaces the studio: lighting setups, backdrops, surfaces, props, location, and the day spent arranging them.
It does not replace the product. You still need a clear photograph of the thing you sell. Nor does it replace campaign photography with a real face in a real place. That still earns its budget when the brand story is the point.
The honest framing: it takes the shot types that are essentially repeatable craft and makes them cheap, so the budget can go where craft actually matters.
The shot types it handles
Packshots
Clean catalogue shots on a neutral background. This is the highest-volume image type and the one where consistency matters most. A hundred products photographed by three suppliers over two years produces a grid of subtly mismatched greys and shadows falling in different directions. Regenerating them all through one setup fixes that by construction.
Flat lays
Overhead shots on a matte surface, minimal props. Straightforward, and cheap to produce at volume.
Ghost mannequin
The invisible-mannequin garment shot: worn 3D shape, no body, no hanger. Traditionally a compositing job requiring a separate collar shot and careful masking. Generated, there is no compositing step.
Lifestyle and in-use
The product in a real setting, used by a person, caught mid-moment. This is where the biggest cost saving sits, because a lifestyle shoot means a location, a person and a day.
On-model fashion
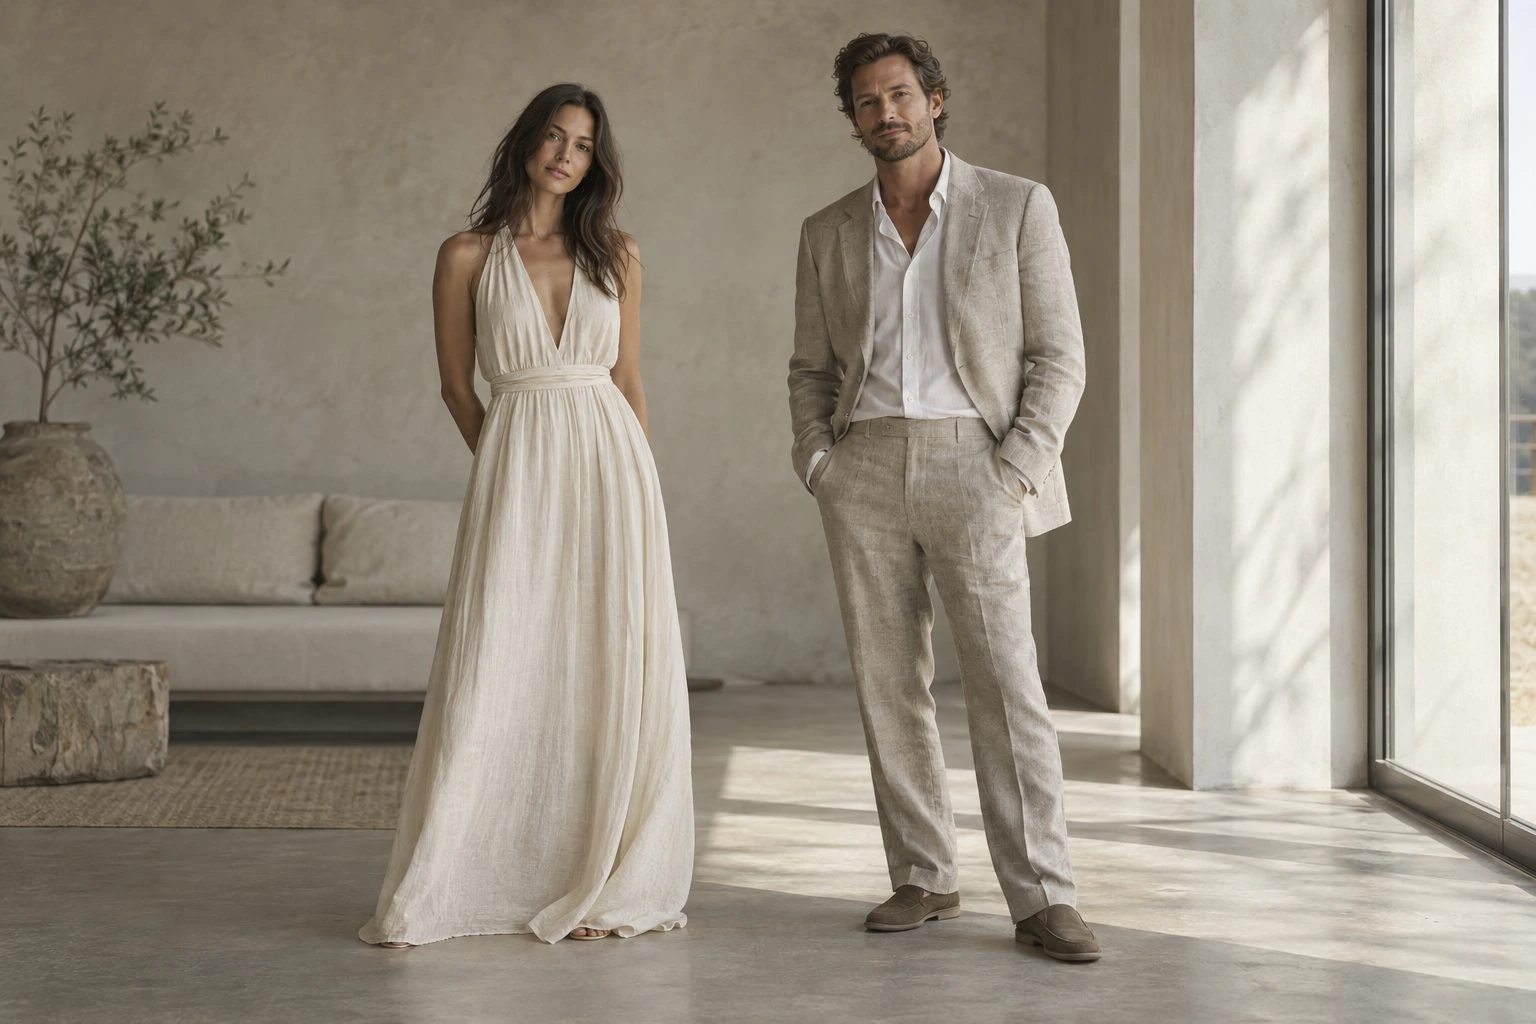
A garment worn by a model. Covered in depth in its own guide. The key point is that the model should be a saved, reusable identity rather than generated fresh per shot.
Sketch-to-render
A garment illustration plus a fabric swatch, rendered as a photograph before a sample exists. This one has no traditional equivalent at all: you cannot photograph a garment that has not been sewn.
Getting a good result
Input quality is the ceiling
The product must be in focus and unobstructed. Lighting, background and surface are replaced; sharpness and occlusion are not. If the buckle is hidden behind a fold in your source image, it will be wrong in every output.
Start from a style, not a blank prompt
Writing prompts is the part people over-invest in. A good tool ships with pre-built looks that bake in prompt, composition, aspect ratio and quality tier: levitation on a pastel gradient, overhead flat lay, wet beauty with rim light, exploded view, a banner with copy space reserved for a headline. Drop the product in and generate.
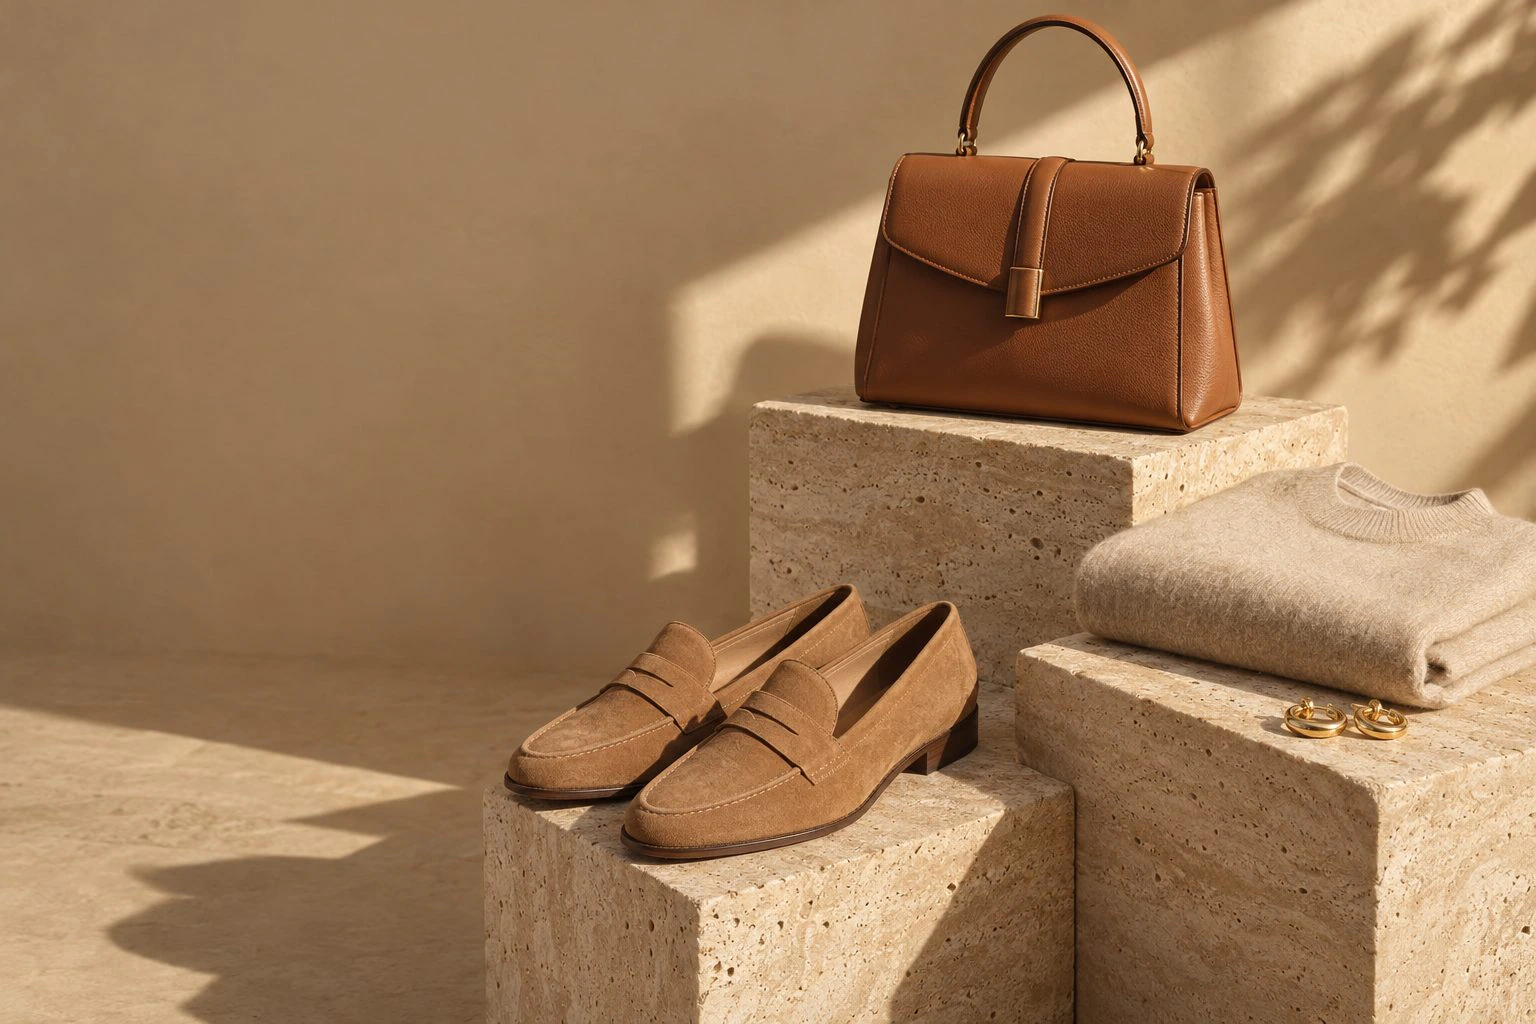
Browse the full style library to see what that looks like.
Draft first, then commit
Quality tiers exist for a reason. Iterate at draft quality until the look is right, then regenerate the approved setup at standard or high. Exploring at 4K is how people burn through a credit budget in an afternoon.
Fix, do not regenerate
The classic failure mode: one detail is wrong and the whole image gets discarded. Masked editing (paint the region, describe the change, regenerate only that area) turns a thrown-away generation into a thirty-second fix. It is the single biggest practical difference between a tool that feels usable and one that feels like a slot machine.
Set the focal point once
Product pages, feeds, stories, marketplace tiles and banners all want different ratios. Set the focal point and export the five channel crops (1:1, 4:5, 3:2, 9:16, 16:9) at once. Cropping by hand five times is where the product ends up half out of frame in the vertical.
Running it across a catalogue
At one product it is a creative exercise. At ten thousand it is logistics.
Import properly. Feed URL, CSV or XML upload, or a Google Merchant Center connection beats uploading images one at a time. If you sell in several markets, group feeds per market so the same SKU connects across language variants instead of appearing as five unrelated products.
Make the library searchable. An image you cannot find again is an image you regenerate and pay for twice. Search by label, description or the prompt that produced it, and use folders.
Fix the house style once. Publish your configured setup as a shared blueprint so the whole team starts from the same place rather than each approximating it. Pin brand colours to exact hex values instead of describing them.
Separate clients. If you are an agency, each brand needs its own workspace, with products, models and generated images kept apart.
What it costs
Credit-based pricing is normal, priced per generation by model and quality tier. As a concrete reference point, Magnifiq's default engine costs 2 credits for a draft, 8 for a standard image and 20 at high quality, so a 2,750-credit plan covers about 340 standard images, or about 135 at high quality. There is a free tier of 100 credits a month, permanently, which is enough to decide whether the output survives your own product page.
Compare that against the real cost of the alternative: not just the photographer's day rate, but sample shipping, scheduling, and the reshoots.
Where it fails
Worth knowing before you commit a season:
- Fine repeated pattern and intricate weave can drift
- Complex transparency (sheers, glass, layered translucency) is hard
- Text on packaging may not survive perfectly; check every label
- Colour accuracy needs verification against the physical product, especially for anything where colour drives returns
- Poor inputs cannot be rescued
Build a QA step in. Someone looks at the output next to the real product before it goes live. That step is cheap and it is what stops a systematic error propagating across a thousand SKUs.
Disclosure is now part of the job
If you publish AI-generated images in the EU, the AI Act requires machine-readable disclosure, embedded in the file rather than written in the page copy. In practice that means a signed C2PA manifest and the IPTC DigitalSourceType field.
Two things to check: that your tool writes both by default, and that your own resize/optimise pipeline does not strip them on the way out. See the full breakdown.
Where to start
Pick one product and one shot type. A packshot is the easiest to judge. Generate it, put it next to your existing image, and ask whether it would survive your own product page.
That answer takes an afternoon and tells you more than any amount of reading, this guide included.
Start generating your own product images
Bring the product photos you already have and generate your first studio-quality shots in minutes. Free plan, no credit card.
Get started free100 image credits every month, forever.
Get new guides by email
Practical writing on product imagery, roughly twice a month. Unsubscribe in one click.
Keep reading
How to Get On-Model Fashion Images Without Booking a Model or a Shoot
A practical walkthrough of generating on-model imagery from the garment photos you already have: what it does well, where it breaks, and how to keep the same model across an entire collection.
AI-Generated Product Images and the EU AI Act: What E-commerce Has to Disclose
The AI Act asks for two kinds of AI disclosure: a machine-readable marking inside the file, and a visible label on realistic images that could pass as real. Here is what each means for a product catalogue, who is responsible, and how to check your own files.