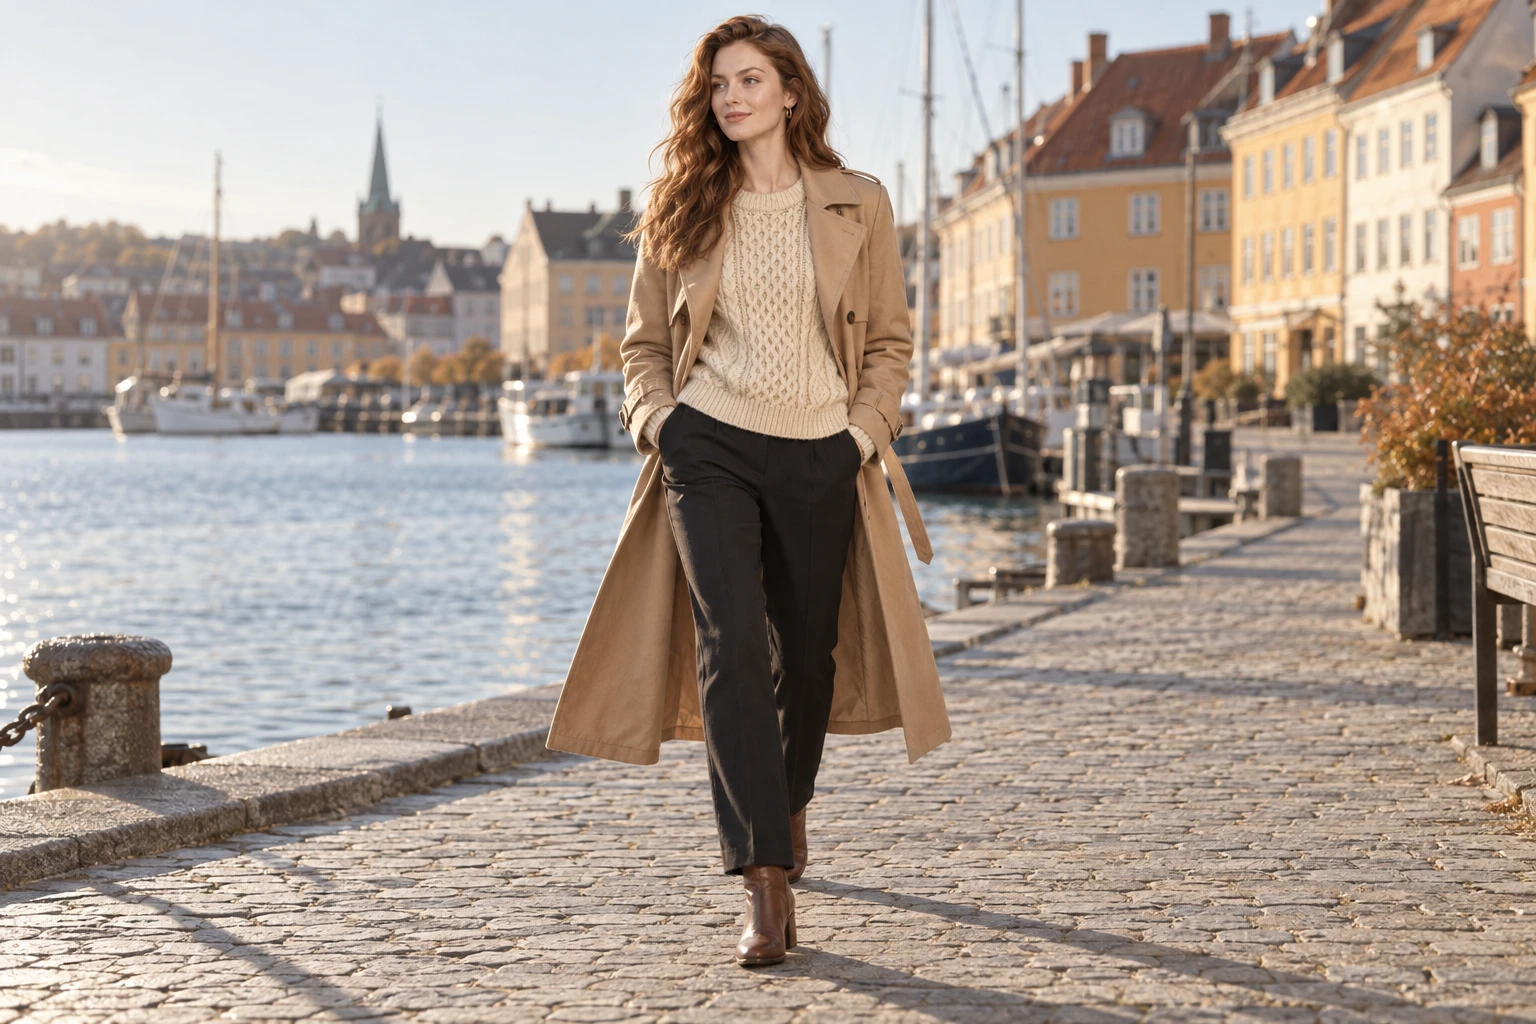
Every fashion brand runs the same arithmetic. On-model images convert better than flat lays (this is not in dispute) and on-model images cost roughly ten times as much to produce. So the hero pieces get a model and everything else gets a flat lay, and the long tail of the catalogue quietly underperforms.
AI changes the arithmetic, but only if you use it the right way round. This is a walkthrough of the right way round, including the parts that do not work.
First, the mistake everyone makes
Open a general-purpose image generator, describe a model wearing a navy cable-knit sweater, and you will get an excellent photograph of a navy cable-knit sweater that does not exist. The collar is wrong. The cable pattern is invented. The ribbing at the cuff is not your ribbing.
For a mood board that is fine. For a product page it is unusable, and in a paid ad it is a liability, because you are advertising a garment you cannot ship.
The distinction that matters is not "AI or not AI". It is whether the tool starts from your garment or from a description of it.
A tool that starts from a description generates a product. A tool that starts from your images generates a photograph of your product. Only the second one belongs in a catalogue.
The workflow
1. Get the garments in
You need images of the actual garment. Flat lays, hanger shots, supplier photos, anything from the catalogue. Import a product feed by URL, upload CSV or XML, connect Google Merchant Center, or just upload images directly.
What matters is that the garment is in focus and unobstructed. Lighting, background, styling and setting are all replaced downstream. Sharpness is not. A well-lit supplier shot on a plain background is an ideal input; a phone photo of the piece crumpled on a desk is not, and no amount of prompting fixes it.
2. Build a model, once
This is the step people skip, and skipping it is why most AI fashion imagery looks incoherent.
Do not generate a person per shot. Build a model as a saved entity, from structured attributes:
- Ethnicity, gender, age range (teen through senior)
- Body and size: petite, slim, athletic, average, curvy, muscular, plus-size, XXL
- Skin tone, hair length, style and colour
- Expression, height
The builder produces several candidates so you choose rather than accept, and then renders a view set: front, side, half body. That view set is what makes the identity hold. Every later generation references it, which is why shot forty looks like the same person as shot one.
Without a locked identity you get forty photographs of forty similar-looking strangers, and a category page that reads as a stock library.
3. Dress it
Pick the Fashion shoot shot type and add every piece to the References card from your own gallery, naming each one ("denim jacket, worn open"). The name travels with the image, so the engine knows what it is looking at. The model is generated; the garment is not.
4. Pose it
Pick from the pose library: standard commercial poses (arms crossed, hands in pockets, walking toward camera, mid-stride, seated, back view) or editorial ones (deep squat, head thrown back, reclining).
One technical detail worth understanding, because it explains a failure mode you will otherwise hit elsewhere: poses should be applied as text, not as a reference image. A pose reference photograph carries its own body along with it. Feed a slim figure in as a walking-pose reference and your plus-size model quietly becomes slim. Describing the pose instead leaves the model you built intact.
5. Set the scene
Backdrop as an image, a flat colour, or written direction. If you keep brand colours in a Brand Kit, they show up as swatches in the backdrop colour picker, so a seasonal backdrop is pinned to an exact hex instead of approximated.
6. Fix rather than regenerate
The usual failure mode of AI imagery is that one detail is wrong and the entire generation gets discarded. Masked editing changes that: paint over the region, describe the change, and only that region regenerates. A hand, a hem, a shadow. Thirty seconds instead of another full generation and another roll of the dice.
7. Export every crop from one focal point
Product page, feed post, story, marketplace tile, paid banner: all different shapes. Set the focal point once and export the five channel crops (1:1, 4:5, 3:2, 9:16, 16:9) at once, rather than cropping five times and discovering the model's head left the frame in the 9:16.
What it is genuinely good at
Structured garments. Knitwear, outerwear, shirting, tailoring, trousers, dresses, shoes. Anything whose construction reads clearly in your input images.
Repeat work. The second shot of the same model costs the same as the first. So does the fortieth. The economics invert: variety becomes cheap and the expensive thing becomes deciding what you want.
Size representation. Building models at three different sizes costs three times nothing. Showing a garment on more than one body stops being a budget conversation.
The reshoot. A marketplace rejects an image. A channel changes its ratio requirements. A colourway lands late. The model is still there.
What it is not good at
Be honest about these, because discovering them mid-season is expensive:
- Fine repeated pattern. Small-scale prints and intricate weaves can drift.
- Complex transparency. Sheers, mesh and layered translucency are hard.
- Ambiguous inputs. If the construction is not visible in your source image, it will not be correct in the output.
- Exact fit claims. A generated image shows a garment on a body. It is not a fit model and should not be used to make fit promises.
The disclosure part, which is now not optional
If you publish AI-generated imagery in the EU, the AI Act requires it to be disclosed in a machine-readable format. A line of small print on the page does not satisfy that; the disclosure has to travel inside the file.
Two standards do this in practice:
- C2PA content credentials: a cryptographically signed manifest embedded in the image, stating who produced it and how. Any later edit breaks the seal, so a viewer can tell an untouched file from a tampered one.
- IPTC
DigitalSourceType: a metadata field marking the image as AI-generated, which is what newsrooms and marketplaces read.
Magnifiq writes both into every export by default, into JPEG, PNG and WebP, without re-encoding a single pixel. You can also strip them entirely for a clean file, per download.
The reason to care beyond compliance: marketplaces are starting to check, and an unlabelled AI image that gets flagged is a listing taken down at the worst possible moment.
The honest summary
You will not replace every photoshoot, and you should not want to. Campaign hero imagery with a real face and a real place still earns its budget.
What changes is the other 90%: the long tail of SKUs that never justified a shoot and shipped with a flat lay instead. That is where the conversion is left on the table, and that is what this actually fixes.
Start with one product and one model. If the output survives your own product page, scale it. If it does not, you have lost an afternoon rather than a season.
Start generating your own product images
Bring the product photos you already have and generate your first studio-quality shots in minutes. Free plan, no credit card.
Get started free100 image credits every month, forever.
Get new guides by email
Practical writing on product imagery, roughly twice a month. Unsubscribe in one click.
Keep reading
The Complete Guide to AI Product Photography
What AI product photography actually is, which kinds of shot it handles well, what it costs, where it fails, and how to run it across a catalogue without ending up with a thousand inconsistent images.
AI-Generated Product Images and the EU AI Act: What E-commerce Has to Disclose
The AI Act asks for two kinds of AI disclosure: a machine-readable marking inside the file, and a visible label on realistic images that could pass as real. Here is what each means for a product catalogue, who is responsible, and how to check your own files.